When I studied horticulture at Penn State I took classes in sustainability. One of the interesting things we learned about was using natural methods to treat wastewater and stormwater runoff. We learned about how run off that picks up excess nutrients and chemicals from farms and suburban lawns ends up polluting the Chesapeake Bay. We also learned that keeping stormwater on your property can be easy and pretty. One of the easiest ways to make an impact on helping clean the Bay is to install a rain garden. Almost every property we work on has drainage issues. If you’ve seen a stream of water or standing water somewhere on you property a rain garden can work for you.
The Howard County government will reimburse you 50% of the payment you make for a new rain garden- really! Take advantage of this free money for a garden and drainage solution in your yard by contacting us today.
How to Design and Build A Rain Garden
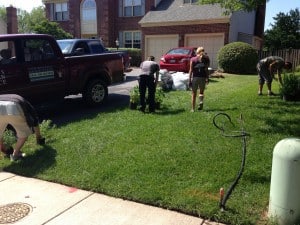
First you pick a location that is convenient for a garden bed and that intersects flowing stormwater. For instance, somewhere near your down spout before the water from your roof runs off your property or down your driveway into the street. On this property there is a stream of water that flows from the downspout on the right side of the garage and from the neighbors backyard. We located the garden in the corner of the property to stop the water from flowing off the property into the street.
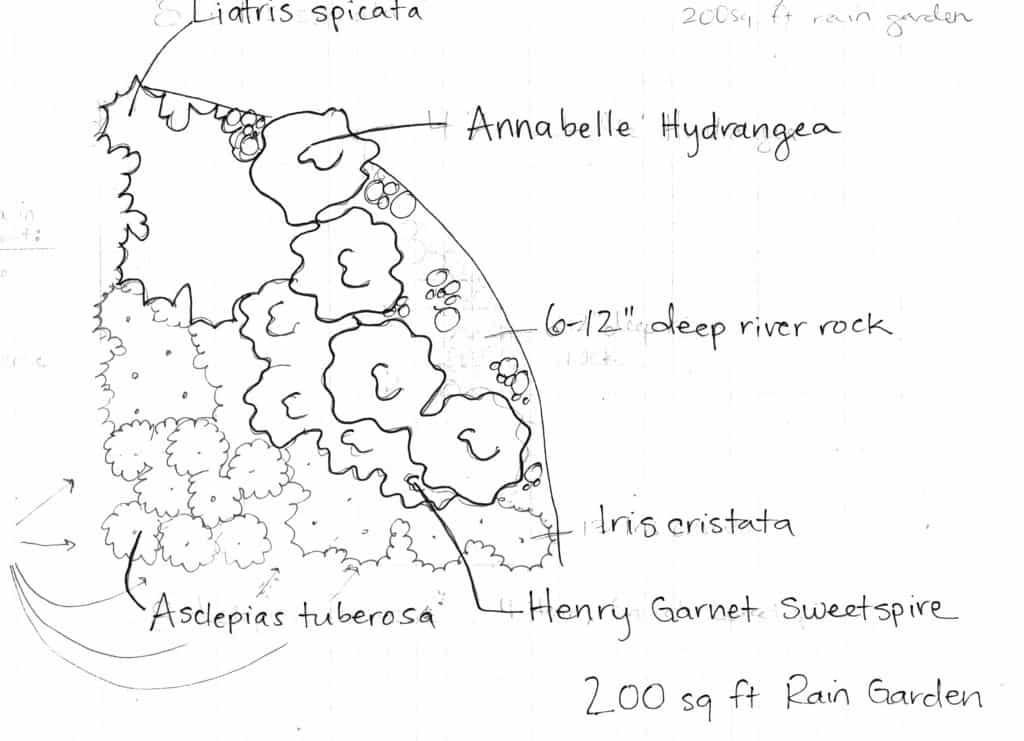
I took measurements and designed a garden on graph paper, filling in plants at a grown in size to allow them not to be crowded in a few years time. I selected sun loving plants that would thrive in a wet environment and also tolerate drought conditions (once established). I use native because they adapt well to local conditions and support a native habitat. Here is the design I came up with:
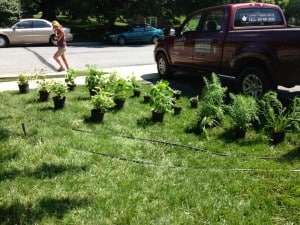
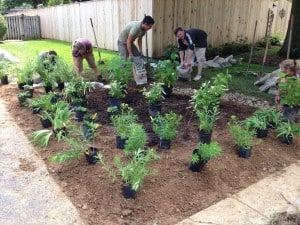
Next the crew placed the plants according to the design to see how it was shaping up. This client requested a larger garden so we expanded the size and added a few more plants: lobelia, liatris, iris.
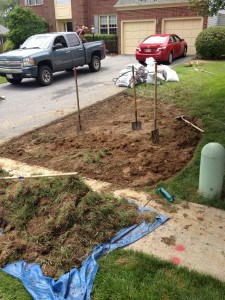
Next we fired up the sod cutter and removed all the grass and then graded the garden to create a low point in the middle of the garden and a berm on the down slope of the water flow. This helps the water pool in the center of the garden instead of running into the sewer.
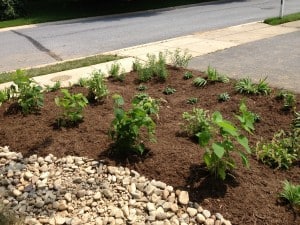
It’s hard to see in the picture below but the areas near the sidewalk and driveway are built up and there is a low area in the center of the garden. When it rains, water collects at the low point and filters into with ground within a day- so no time for mosquitoes to hatch. The crew removed a lot of soil from the center of the garden and tilled in peat moss, sand, leafgro compost and manure to amend the soil and make the existing clay more permeable to water.
Here is the finished rain garden, which is now actively collecting water! This client made a positive environmental impact and will also get reimbursed for half the cost of this rain garden from Howard County!


